
30 Mar Tech Blog: Secrets Management With Vault, Nomad and Terraform.
In Hashicorp we trust!
Welcome to the first in a series of blog posts we’ll be doing about some of the technologies and challenges we have encountered while building our infrastructure.
Here at Singulariti, data security is paramount. Our clients have strict security requirements, and incorporating a robust authentication and secrets layer into our system has been a core design goal.
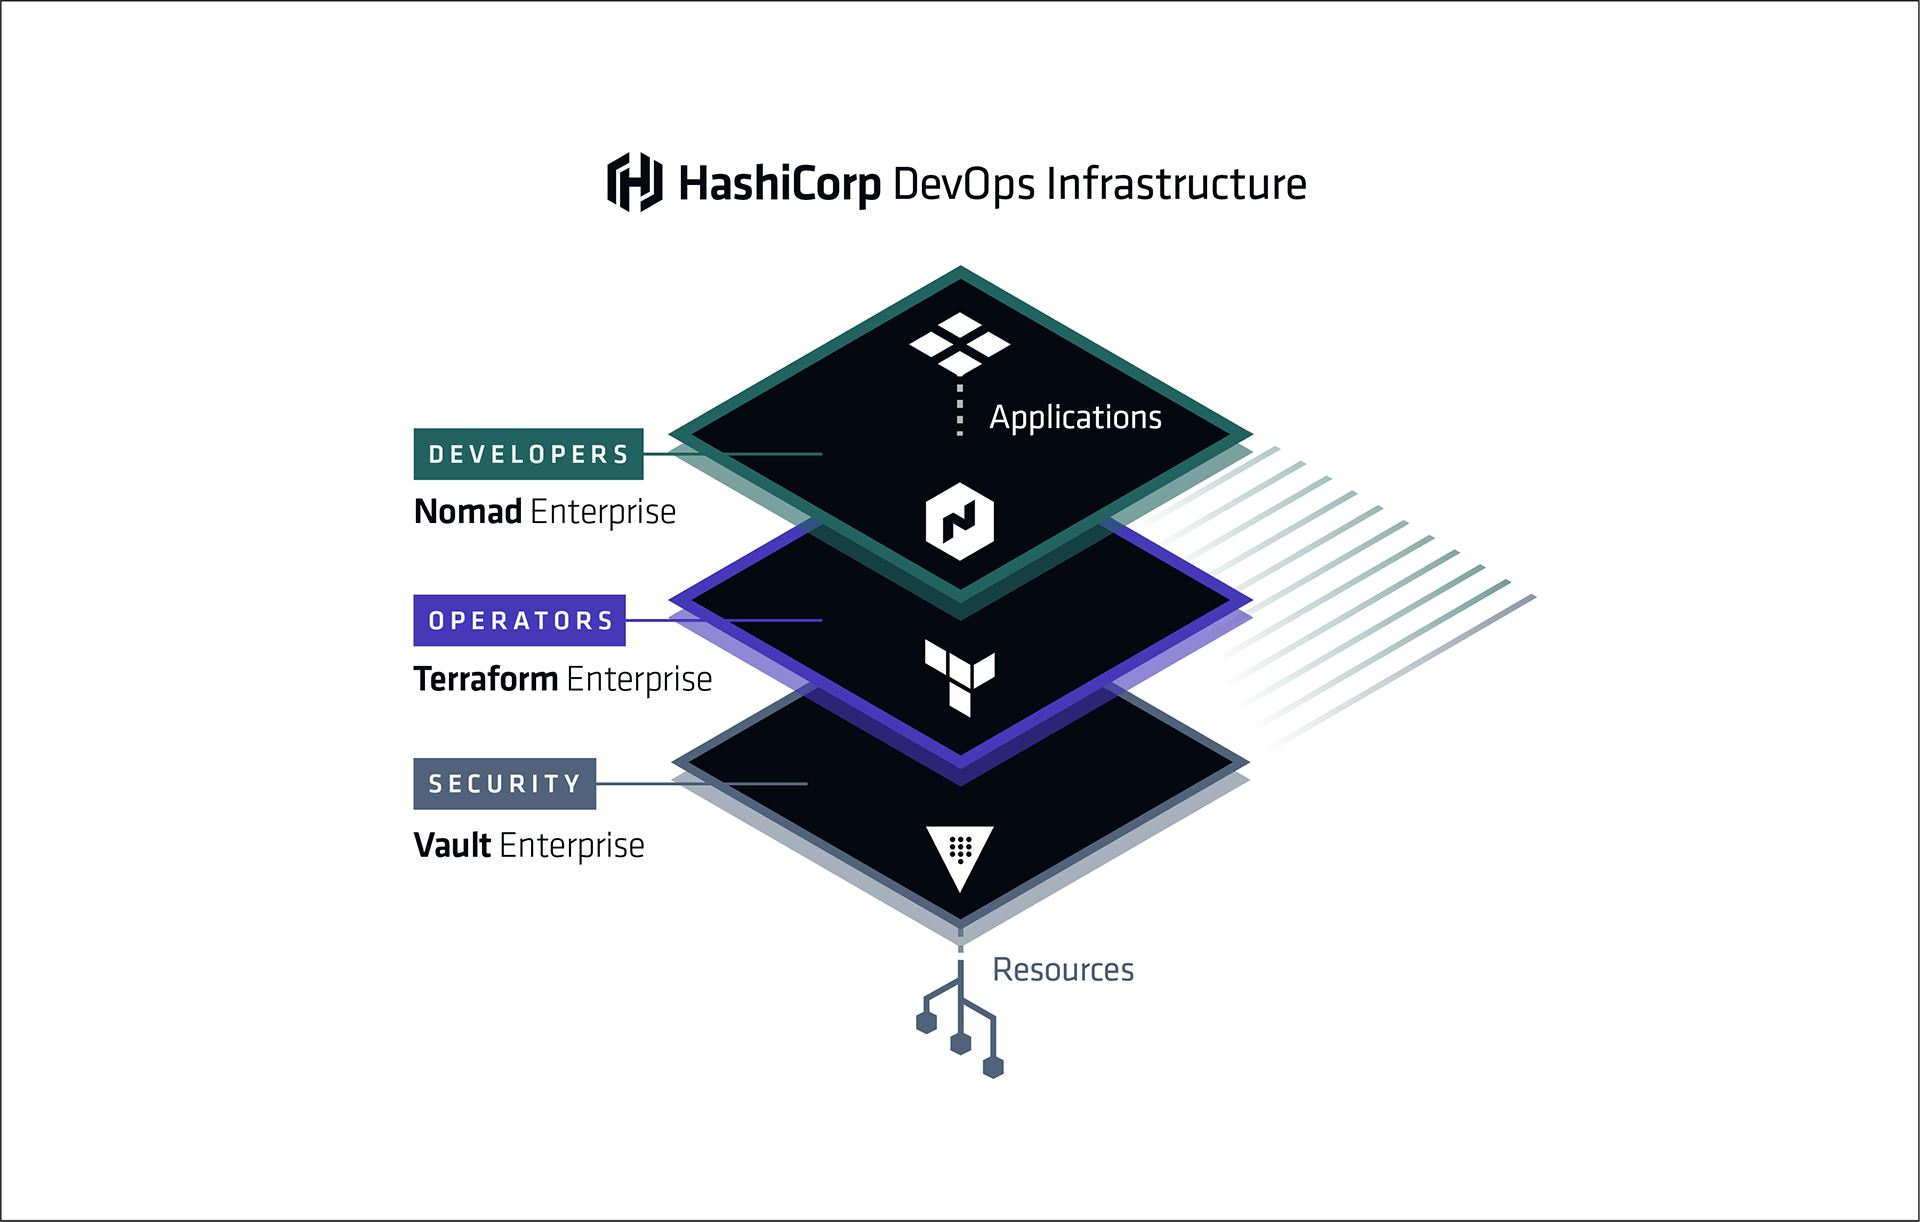
We use the powerful Hashicorp stack for the provisioning and orchestration of our architechture. In this post, we will outline a simple use case that demonstrates the ease of use of Hashicorp’s Terraform, Vault, Nomad, and Consul to achieve secrets management.
We consider the case a dockerized microservice that performs backups of a particular database to an AWS S3 bucket. We want the microservice to run every 12 hours, and have full access in a specific folder (dbbackup/) in an S3 bucket (my-bucket).
The full source code for this demo is available.
Vault
First we create a vault provider in Terraform. We are assuming that we have setup a Vault server and enabled an aws backend (see here).
# vault-provider.tf
provider "vault" {
  address = "${var.vault_endpoint}"
  token = "${var.vault_token}"
}
Next, we create an S3 policy document. We will use a reusable policy template that has full access just inside a single folder in a bucket.
# policies/s3_single_folder_full_access.json
{
  "Version": "2012-10-17",
  "Statement": [
    {
      "Effect": "Allow",
      "Action": [
        "s3:ListAllMyBuckets",
        "s3:GetBucketLocation"
      ],
      "Resource": "arn:aws:s3:::*"
    },
    {
      "Effect": "Allow",
      "Action": "s3:ListBucket",
      "Resource": "arn:aws:s3:::${backup_bucket}",
      "Condition": {"StringLike": {"s3:prefix": [
        "",
        "${backup_path}"
      ]}}
    },
    {
      "Effect": "Allow",
      "Action": "s3:*",
      "Resource": [
        "arn:aws:s3:::${backup_bucket}/${backup_path}",
        "arn:aws:s3:::${backup_bucket}/${backup_path}*"
      ]
    }
  ]
}
We’ve left in some Terraform template variables ${...}, so we can use this policy to generate full access to any number of folders.
Next, we use Terraform to render the policy document with the appropriate template variables,
# in vault-dbbackup.tf
data "template_file" "dbbackup_role_policy_json" {
    template = "${file("policies/s3_single_folder_full_access.json")}"
    vars {
        backup_bucket = "${var.backup_bucket}"
        backup_path = "${var.backup_path}"
    }
}
We then create the AWS IAM role in terraform,
# in vault-dbbackup.tf
resource "vault_aws_secret_backend_role" "role" {
    backend = "aws"
    name    = "aws-s3-dbbackup"
    # here we pass in the rendered policy template
    policy = "${data.template_file.dbbackup_role_policy_json.rendered}"
}
The name parameter here will be used to refer to this role, that is, when we vault read from aws/creds/aws-s3-dbbackup we will get a fresh set of AWS keys with the permissions given by the policy we specified above. Of course, we now need to create the vault policy that will allow for our microservice to read credentials from aws/creds/aws-s3-dbbackup.
# in vault-dbbackup.tf
resource "vault_policy" "dbbackup-policy" {
    # this is the name we must specify in the vault stanza of the nomad job.
    name = "aws-s3-dbbackup-policy"

    # inline vault policy in heredoc format!
    policy = <<POLICY
path "aws/creds/aws-s3-dbbackup" {
  capabilities = ["read"]
}
POLICY
}
With these few blocks of code, we’ve created a S3 credentials source in Vault. Now on to Nomad.
Nomad
Next, we set up a Nomad provider. We are assuming that our Nomad server is integrated with Vault.
# nomad-provider.tf
provider "nomad" {
  address = "${var.nomad_endpoint}"
  region  = "${var.region}"
}
Now we write our nomad job.
# jobs/dbbackup.hcl
job "database-backup" {
    region = "${region}"
    datacenters = ["${datacenter}"]
    type = "batch"
    periodic {
        # run every 12 hours
        cron             = "0 */12 * * * *"
    }
    group "dbbackup-group" {
        task "dbbackup_task" {
            driver = "docker"
            vault {
                # here we are granting this job access to the vault policy we created earlier
                policies = ["aws-s3-dbbackup-policy"]
            }
            template {
                data = <<DATA
# pull AWS credentials from the designated aws role.
# granting the policy above allows us to read from this secrets path
{{with secret "aws/creds/aws-s3-dbbackup"}}
AWS_ACCESS_KEY_ID={{.Data.access_key}}
AWS_SECRET_ACCESS_KEY={{.Data.secret_key}}
{{end}}
AWS_DEFAULT_REGION=us-east-1
DATA
                # store env file in the /secrets directory so secrets are kept in memory, not on disk.
                destination = "secrets/file.env"
                env         = true
            }
            resources {
                cpu    = 600
                memory = 800
                network {
                    mbits = 1
                }
            }
            config {
                image = "${dbbackup_image}"
            }
        }
    }
}
Several things are happening here. First of all, this is a periodic batch job, so we specify a cron timespan for repeated job triggering. The vault stanza determines which vault policies this job will be able to read. We use a template stanza, with env = "true" to pass secrets to the container as environment variables. We store the environment file in the Nomad secrets/ volume, which is an in-memory filesystem, so that any written secrets (i.e. the AWS keys) are not visible anywhere on the host filesystem. We read the secrets with a golang template, natively supported in Nomad. The vault read is perform by {{ with secret "aws/creds/aws-s3-dbbackup" }}, from within we can access the newly generated keys.
Next, we render our job file.
# nomad-dbbackup-job.tf
data "template_file" "dbbackup-jobspec" {
  template = "${file("jobfiles/dbbackup.hcl")}"
  vars {
    datacenter      = "${var.consul_datacenter}"
    region          = "${var.consul_region}"
    dbbackup_image  = "${var.dbbackup_image}"
  }
}
We then pass the rendered jobfile into a nomad_job resource. Upon creation, this resource submits the job to the Nomad server.
resource "nomad_job" "job" {
    depends_on = ["vault_policy.dbbackup-policy"]
    #render the jobspec nomad document
    jobspec               = "${data.template_file.dbbackup-jobspec.rendered}"
    deregister_on_destroy = true
}
Note here that we have made the job resource dependent on the vault policy which it uses.
Now, just cd into the root directory, and hit terraform apply. You’ll see the vault secrets go up first, followed by the Nomad job.
It’s that simple: A microservice with fully secured access to an S3 bucket. The Hashicorp stack has made this process completely transparent and customizable.
Notes
- The newly created AWS keys often take a few seconds to propagate across all AWS services, make sure you allow your microservice ample time to continually retry connections.
- This code is not quite complete, interested users will need to fill in various variables (see
variables.tf) before executing properly. - Full full security, you’ll need to run Nomad with
allow_unauthenticated = false. In this way no user will be able to submit a job that grantsaws-s3-dbbackup-policyunless they also submit a vault token that can already access that policy. - Cover image property of Hashicorp, used without permission.
Roman Solov
Posted at 04:31h, 01 AprilGreat to see a self-contained example like this! thanks